Mobile Photography Editing Guide (2026): Best Apps & Secrets for Natural Photos
Table of Contents
This post may contain affiliate offers, and if you purchase through these links, I may earn a commission, which helps support this website and keep it ad free. This comes at no extra cost to you
Have you ever looked at stunning travel photos on social media or in digital magazines and wondered why your own phone photos don't look quite as punchy, vibrant, or polished?
Here is the industry secret: almost every great photo you see online has gone through a subtle editing process. But mobile photography editing isn't about slapping heavy artificial filters or extreme saturation onto your images. In fact, over-editing is the fastest way to make a beautiful memory look fake.
The real key to mobile photo editing in 2026 is enhancing authenticity, bringing out the natural light, rich textures, and true colors that your eyes experienced in person. In this complete guide, you will discover the top mobile editing apps, the step-by-step workflow pros use, and the most common editing mistakes to avoid on your phone.
Why Mobile Editing Beats Desktop Workflows in 2026
For years, serious photographers felt obligated to transfer camera files to a desktop computer and spend hours in complex editing software. But today, mobile editing apps on iOS and Android deliver professional color engine algorithms, selective AI masking, and RAW image support directly on your smartphone.
Editing your travel photos directly on your phone offers three big benefits:
Immediate Creative Output: Edit your shots while commuting on a train, relaxing at a cafe, or resting in your hotel room.
Intuitive Touch Controls: Precision slider and touch-based selective masking make local light adjustments faster and more tactile than a mouse.
Cloud Presets & Syncing: Save custom editing presets and sync edits across all your mobile devices effortlessly.
Nowadays, 90% of my photos are edited on the go, either on my phone or my tablet. I shared an article where I share my on-the-go workflow that you can read below.
A Photographer's Guide to Photo Editing on iPad
The Top 4 Mobile Photo Editing Apps Tested for 2026
| App Name | Best For | Pricing Tier |
|---|---|---|
| Adobe Lightroom Mobile Top Pick | Pro RAW control & HSL color engine | Free / Optional Premium |
| Snapseed 4.0 | Powerful free selective editing | 100% Free (No Ads) |
| VSCO | Film-inspired color presets & mood | Free / Subscription |
| Darkroom | iOS/Mac curve editing & video sync | Free / Monthly Pass |
1. Adobe Lightroom Mobile (Best Overall)
Lightroom Mobile remains the gold standard for mobile photographers. It offers precise colour HSL (Hue, Saturation, Luminance) sliders, non-destructive RAW photo processing, and AI-powered subject/sky masking that lets you adjust the sky or background independently from your main subject.
Adobe is my go-to application to edit my photos on the go. I shared in the past a few articles with my editing process that you can find below.
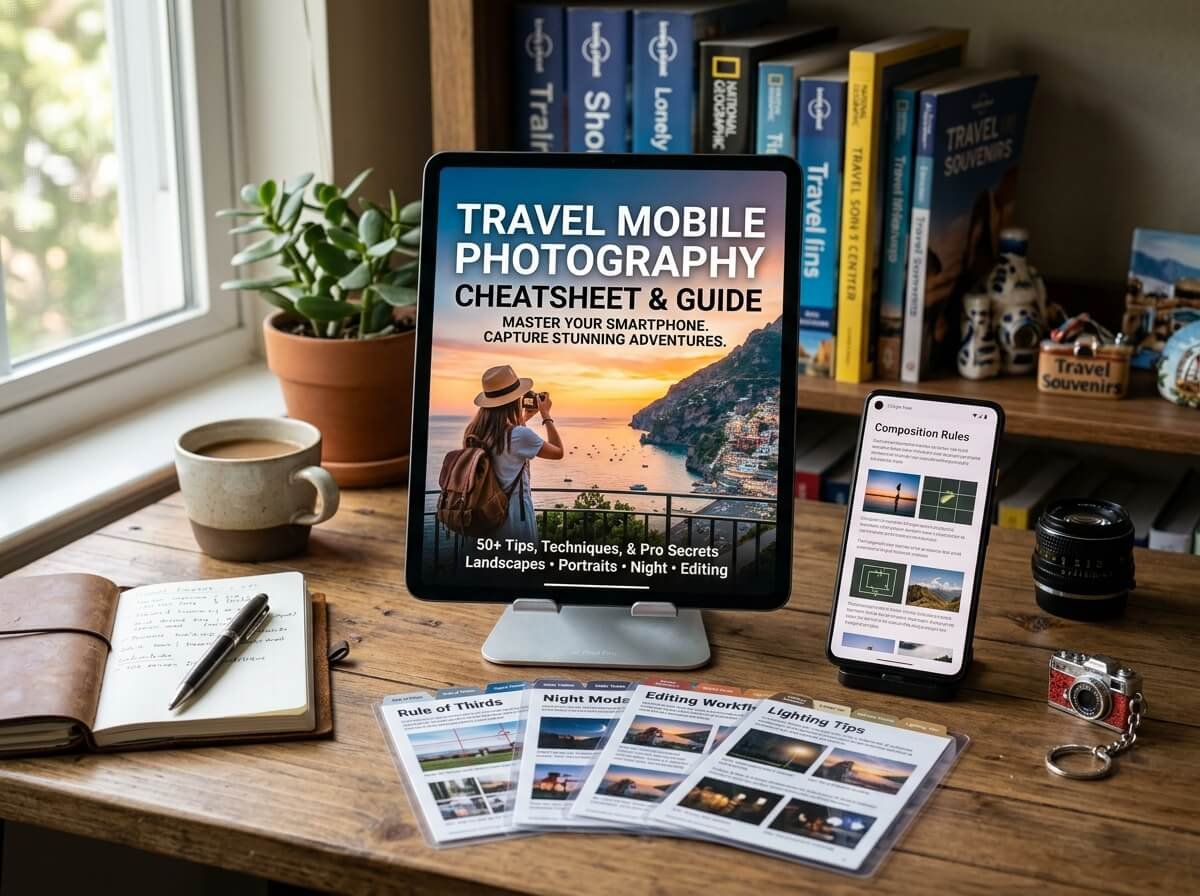
If you want to learn more 👉 Download Your Free Mobile Photography Playbook Here
Learn how to master mobile camera controls, shoot stunning golden-hour portraits, and edit photos on the go without carrying bulky camera gear!
2. Snapseed 4.0 (Best 100% Free App)
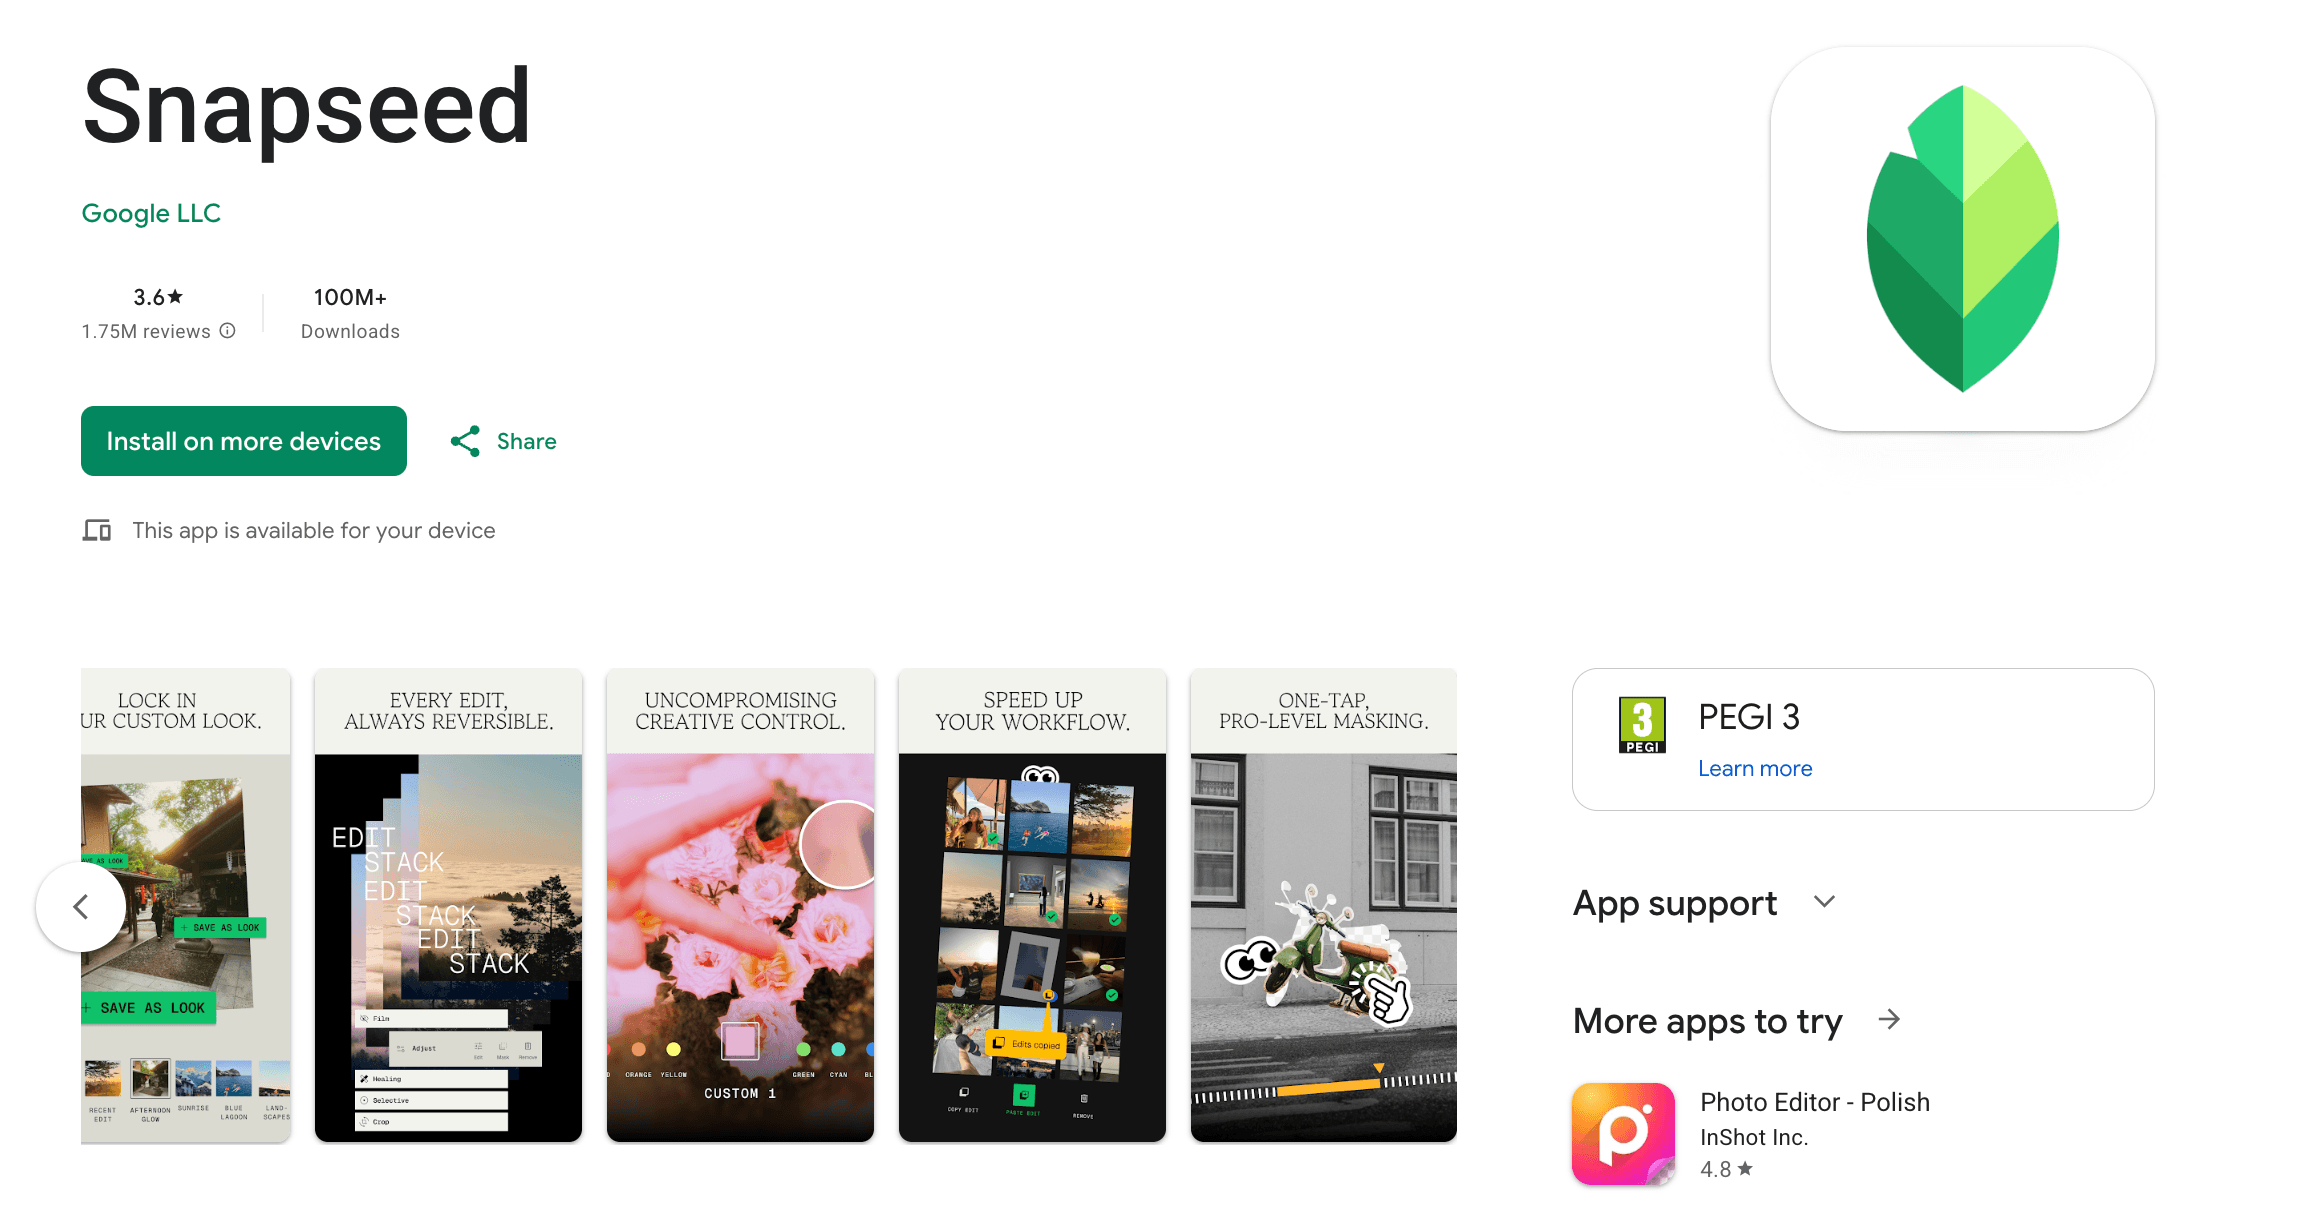
Developed by Google, Snapseed is a completely free, ad-free editing powerhouse. Its Selective and Brush tools let you dodge and burn specific dark or bright spots on your photo with your fingertip. Its Curves and Perspective Correction tools are unmatched among free mobile apps.
3. VSCO (Best for Aesthetic Film Looks)
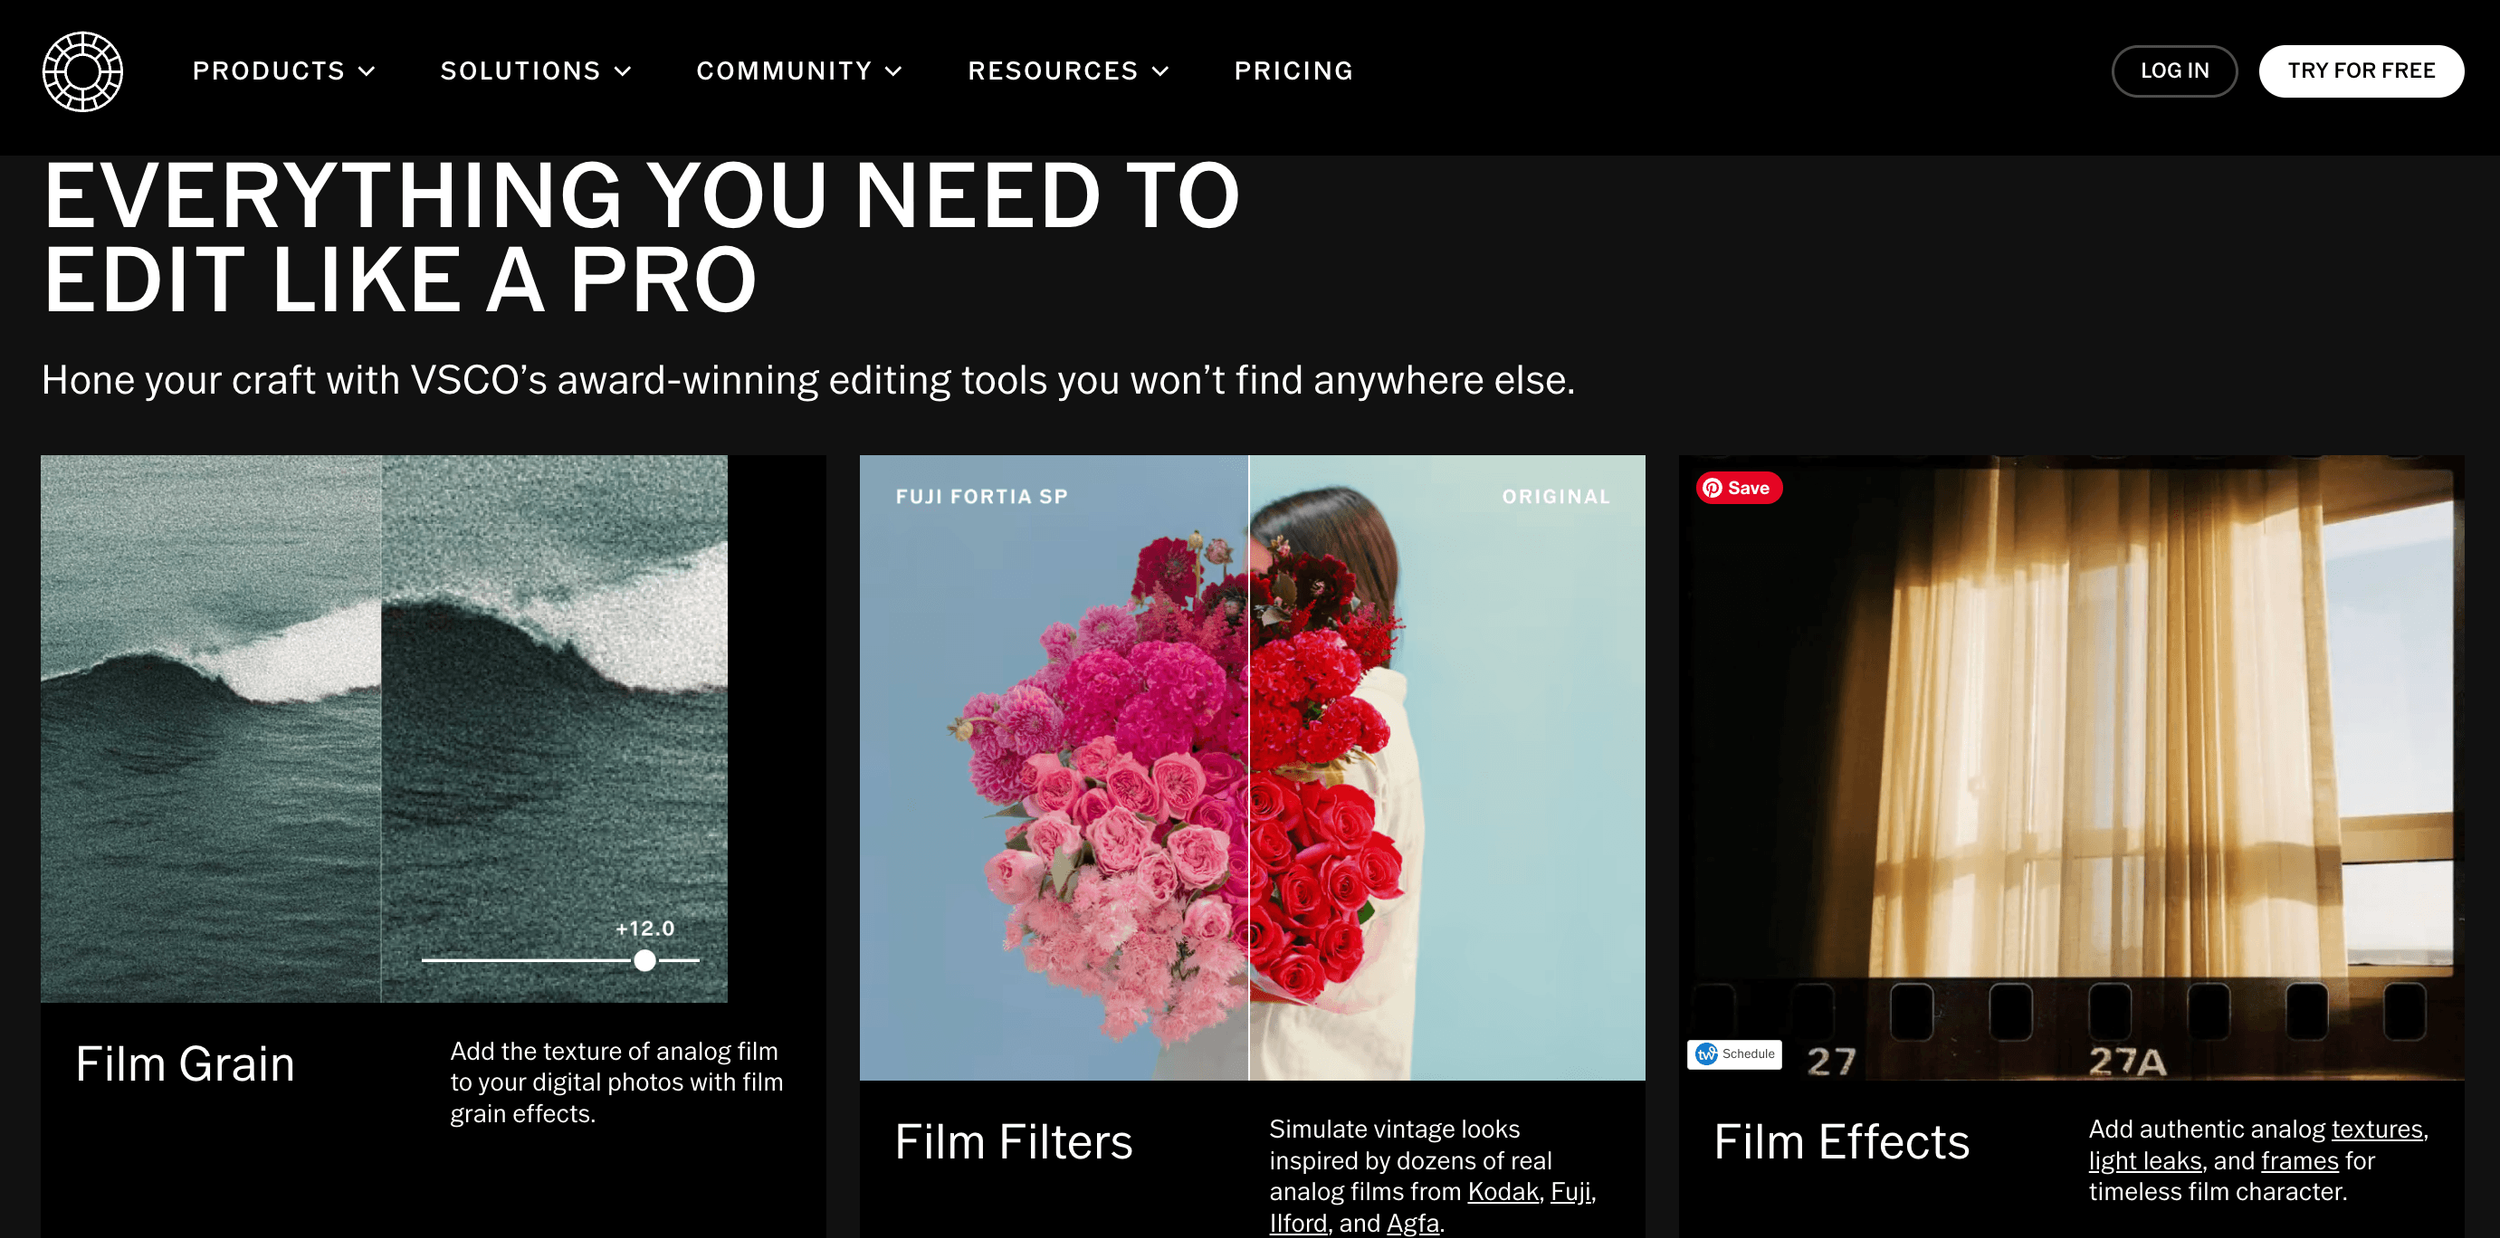
If you love timeless, organic film tones over harsh digital sharpness, VSCO offers subtle film emulation presets modelled after classic Kodak and Fuji film stock.
4. Darkroom (Best for Apple Ecosystem Users)
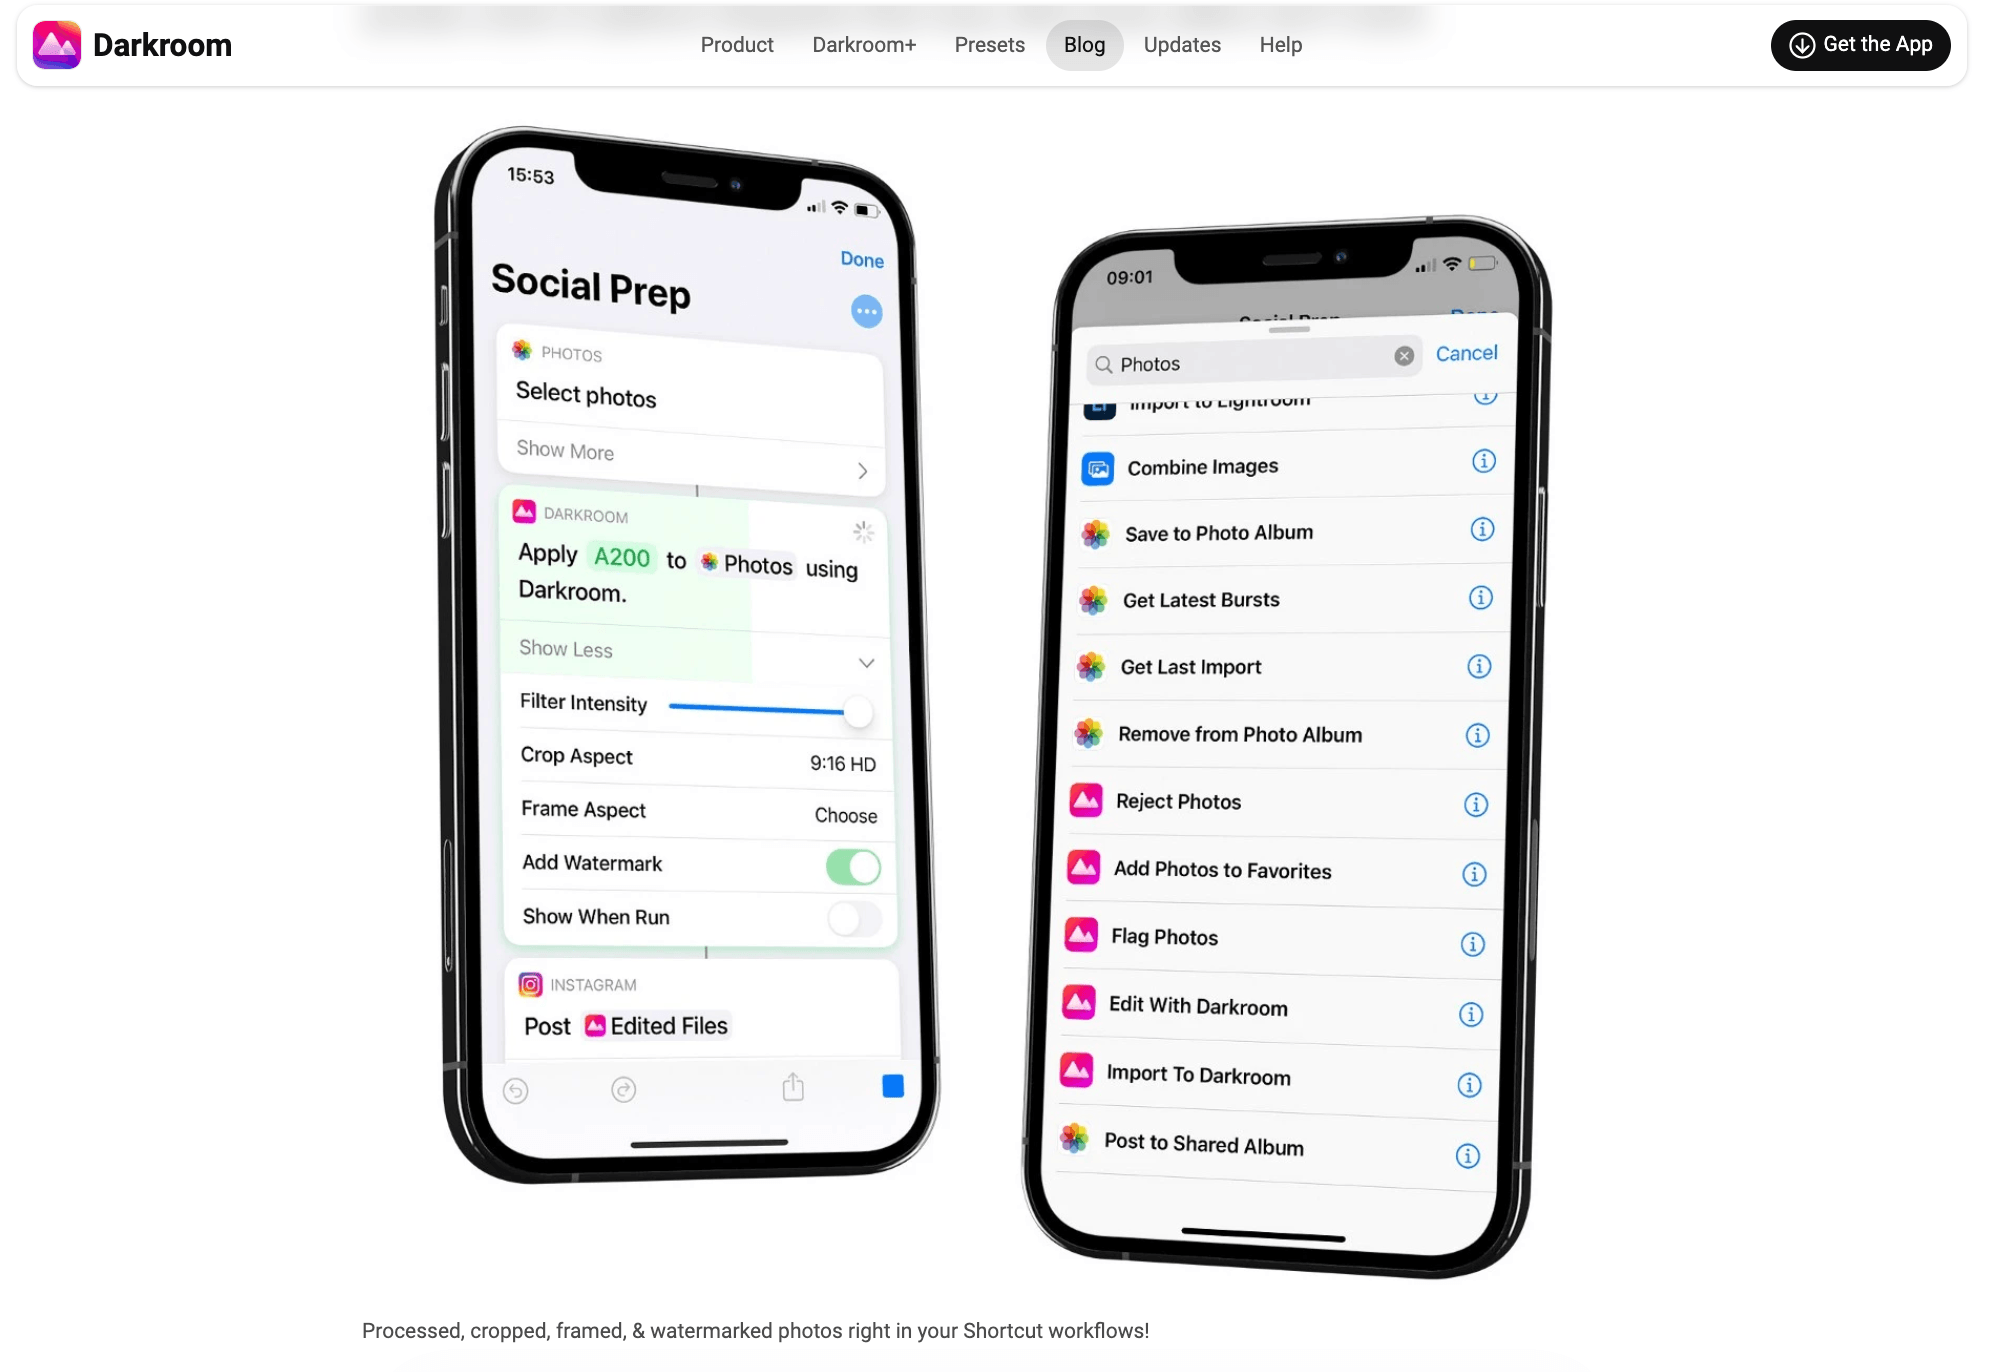
Darkroom provides a clean, fast interface for iPhone and iPad users, allowing you to edit photos and videos with identical color curves without importing files into a separate app library.
The 5-Step Professional Mobile Editing Workflow
To achieve clean, natural results every time, always perform your edits in this specific order, which I cover in-depth in my Mobile Photography Mastery course:
Step 1: Crop, Level, and Clean Perspective
Start by fixing mechanical flaws. Straighten tilted horizon lines on ocean shots, align vertical lines on architecture, and crop out distracting garbage cans or stray tourists at the edges of your frame.
Step 2: Master Exposure and Dynamic Range
Adjust global lighting:
Highlights: Pull highlights down (-10 to -30) to bring back blue skies and cloud texture.
Shadows: Lift shadows (+10 to +25) slightly to reveal details in dark foreground areas.
Contrast: Keep contrast adjustments gentle so details aren't lost.
Step 3: Temperature and White Balance Alignment
Ensure light temperature matches the mood. Warm up sunset photos with a slight increase in Temperature (+3 to +8), or cool down Blue Hour cityscapes with a touch of blue tint.
Step 4: Selective Color Grading (HSL)
Use the Color HSL tool to adjust individual colors:
Reduce orange/yellow saturation slightly to preserve natural skin tones.
Mute harsh neon greens in foliage for a softer, elevated landscape look.
Step 5: Add Subtle Texture and Grain
Finish your image with +5 Texture or Clarity for subtle sharpness, and add a small amount of fine film grain (+5 to +10) to give digital phone images a warm, tactile feel.
4 Common Mobile Editing Mistakes to Avoid
Oversaturating Skies and Foliage: Turning skies electric blue or grass neon green makes photos look cheap and unnatural. Keep color boosts subtle.
Excessive Clarity/HDR Effects: Pushing Clarity or HDR sliders too high creates ugly black halos around subjects and gives skin an artificial, metallic appearance.
Crushing the Shadows: Darkening shadows too far destroys dark details in hair, clothing, and landscapes.
Editing on Full Screen Brightness with Night Shift On: Always turn off blue-light filters (Night Shift / True Tone) and keep your screen brightness at ~70% while editing for accurate color representation.
Edit Your Travel Photos Like a Pro Wherever You Are
Want to go beyond basic filters and learn how to consistently turn your phone photos into stunning travel images even when you're still on the road?
My Mobile Photography Mastery course takes you through my complete mobile photography workflow, from capturing better images to editing them on the go.
You'll learn how to:
Shoot with better composition, light, and perspective
Edit exposure, colors, and dynamic range without making your photos look over-processed
Create a consistent visual style for your travel photography
Edit your photos directly from your phone, wherever you are
Build a repeatable workflow so you can go from RAW photo → finished image without needing a computer
I designed the course specifically for travelers and creators who want better photos without carrying a ton of gear or spending hours editing at a desk.
👉 Learn more about Mobile Photography Mastery
If you want to take your mobile travel photography beyond simply taking snapshots, this is the workflow I recommend.
What Editing App Do You Use on Your Phone?
Now I'd love to hear from you! Which mobile editing app is currently installed on your phone? Do you prefer Adobe Lightroom, Snapseed, VSCO, or native phone controls?
Drop a comment below and let me know! If you enjoyed this guide, make sure to follow the blog and subscribe for more mobile photography guides, editing workflows, and creator tools.
PIN ME
Have you returned from a trip with thousands of photos trapped on your phone? Don’t let your memories stay buried in the cloud. Learn how to cull your collection and transform your favorite travel snapshots into physical keepsakes, engaging digital projects, and personal home art with these 8 creative ideas.