How to Turn Travel Memories Into Living Blog Content With AI

I’ve dragged my kids, my luggage, and my camera across 45+ countries. And if your camera roll looks anything like mine, it’s packed with thousands of incredible photos and videos.
But here’s the reality for most of us parent-entrepreneurs: once the trip ends, the routine begins. We slip right back into the daily grind of client fires and packed lunches, and all those amazing memories just sit there on our phones, gathering digital dust.
That used to be the end of the story for my content pipeline. But recently, I realized that letting those photos sit idle is literally leaving money and traffic on the table. By treating your past trips as a content archive, you can completely revive your workflow. If you want to build a profitable travel blog using ai, it's not about letting a robot write fake stories for you. It’s about using AI to systemize the massive amount of content you already own.
Here is the exact, zero-fluff system I use to turn forgotten camera roll memories into living, monetizable content.
Why This Workflow Actually Matters

Let’s get one thing straight: most travel creators don't struggle because they lack material. They struggle because their material is a chaotic mess scattered across random folders, Apple Notes, and half-finished drafts.
When you only have a tight 90-minute window to work before the kids wake up, you don't have time to dig through your archives. That's why building a travel blog using ai is a game-changer for your productivity as a solo entrepreneur.
We are going to build a three-part engine:
Google Photos = Your memory bank.
Google Trends (and SEO tools) = Your demand signal.
Gemini = Your drafting assistant.
Step 1: Find Your Content in Google Photos
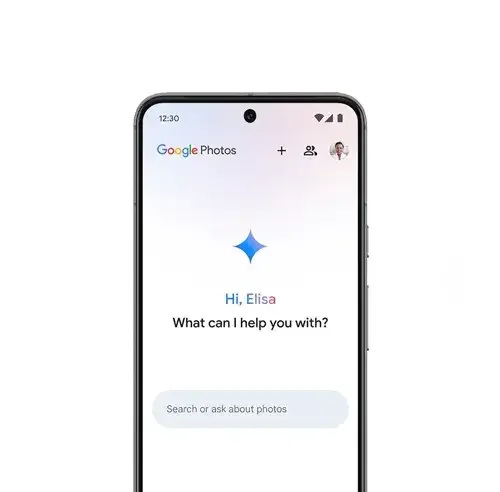
Stop scrolling manually. Start by searching your Google Photos library with broad terms tied to what you naturally capture.
For example, when I was piecing together my guide on a Japan family vacation, I just searched terms like Tokyo, playground, temple, and stroller. Google Photos is terrifyingly good at recognizing objects and places, doing the heavy lifting for you.
Once you find the right images, throw them into a quick topic album:
Rainy-day activities with kids in Dublin
Hidden coffee shops in Paris
Best playgrounds around Tokyo
Boom. You now have the raw inventory for your article. But here is where we get strategic: don't just stop at the blog. Those albums are ready-made Instagram carousels. I take the best 5-7 shots, post them to Instagram to maintain my social media presence without any extra creation time, and then embed that exact post back into the blog article. It's the easiest way to cross-promote your content and keep people engaged in your ecosystem.
Step 2: Validate the Idea with Search Intent
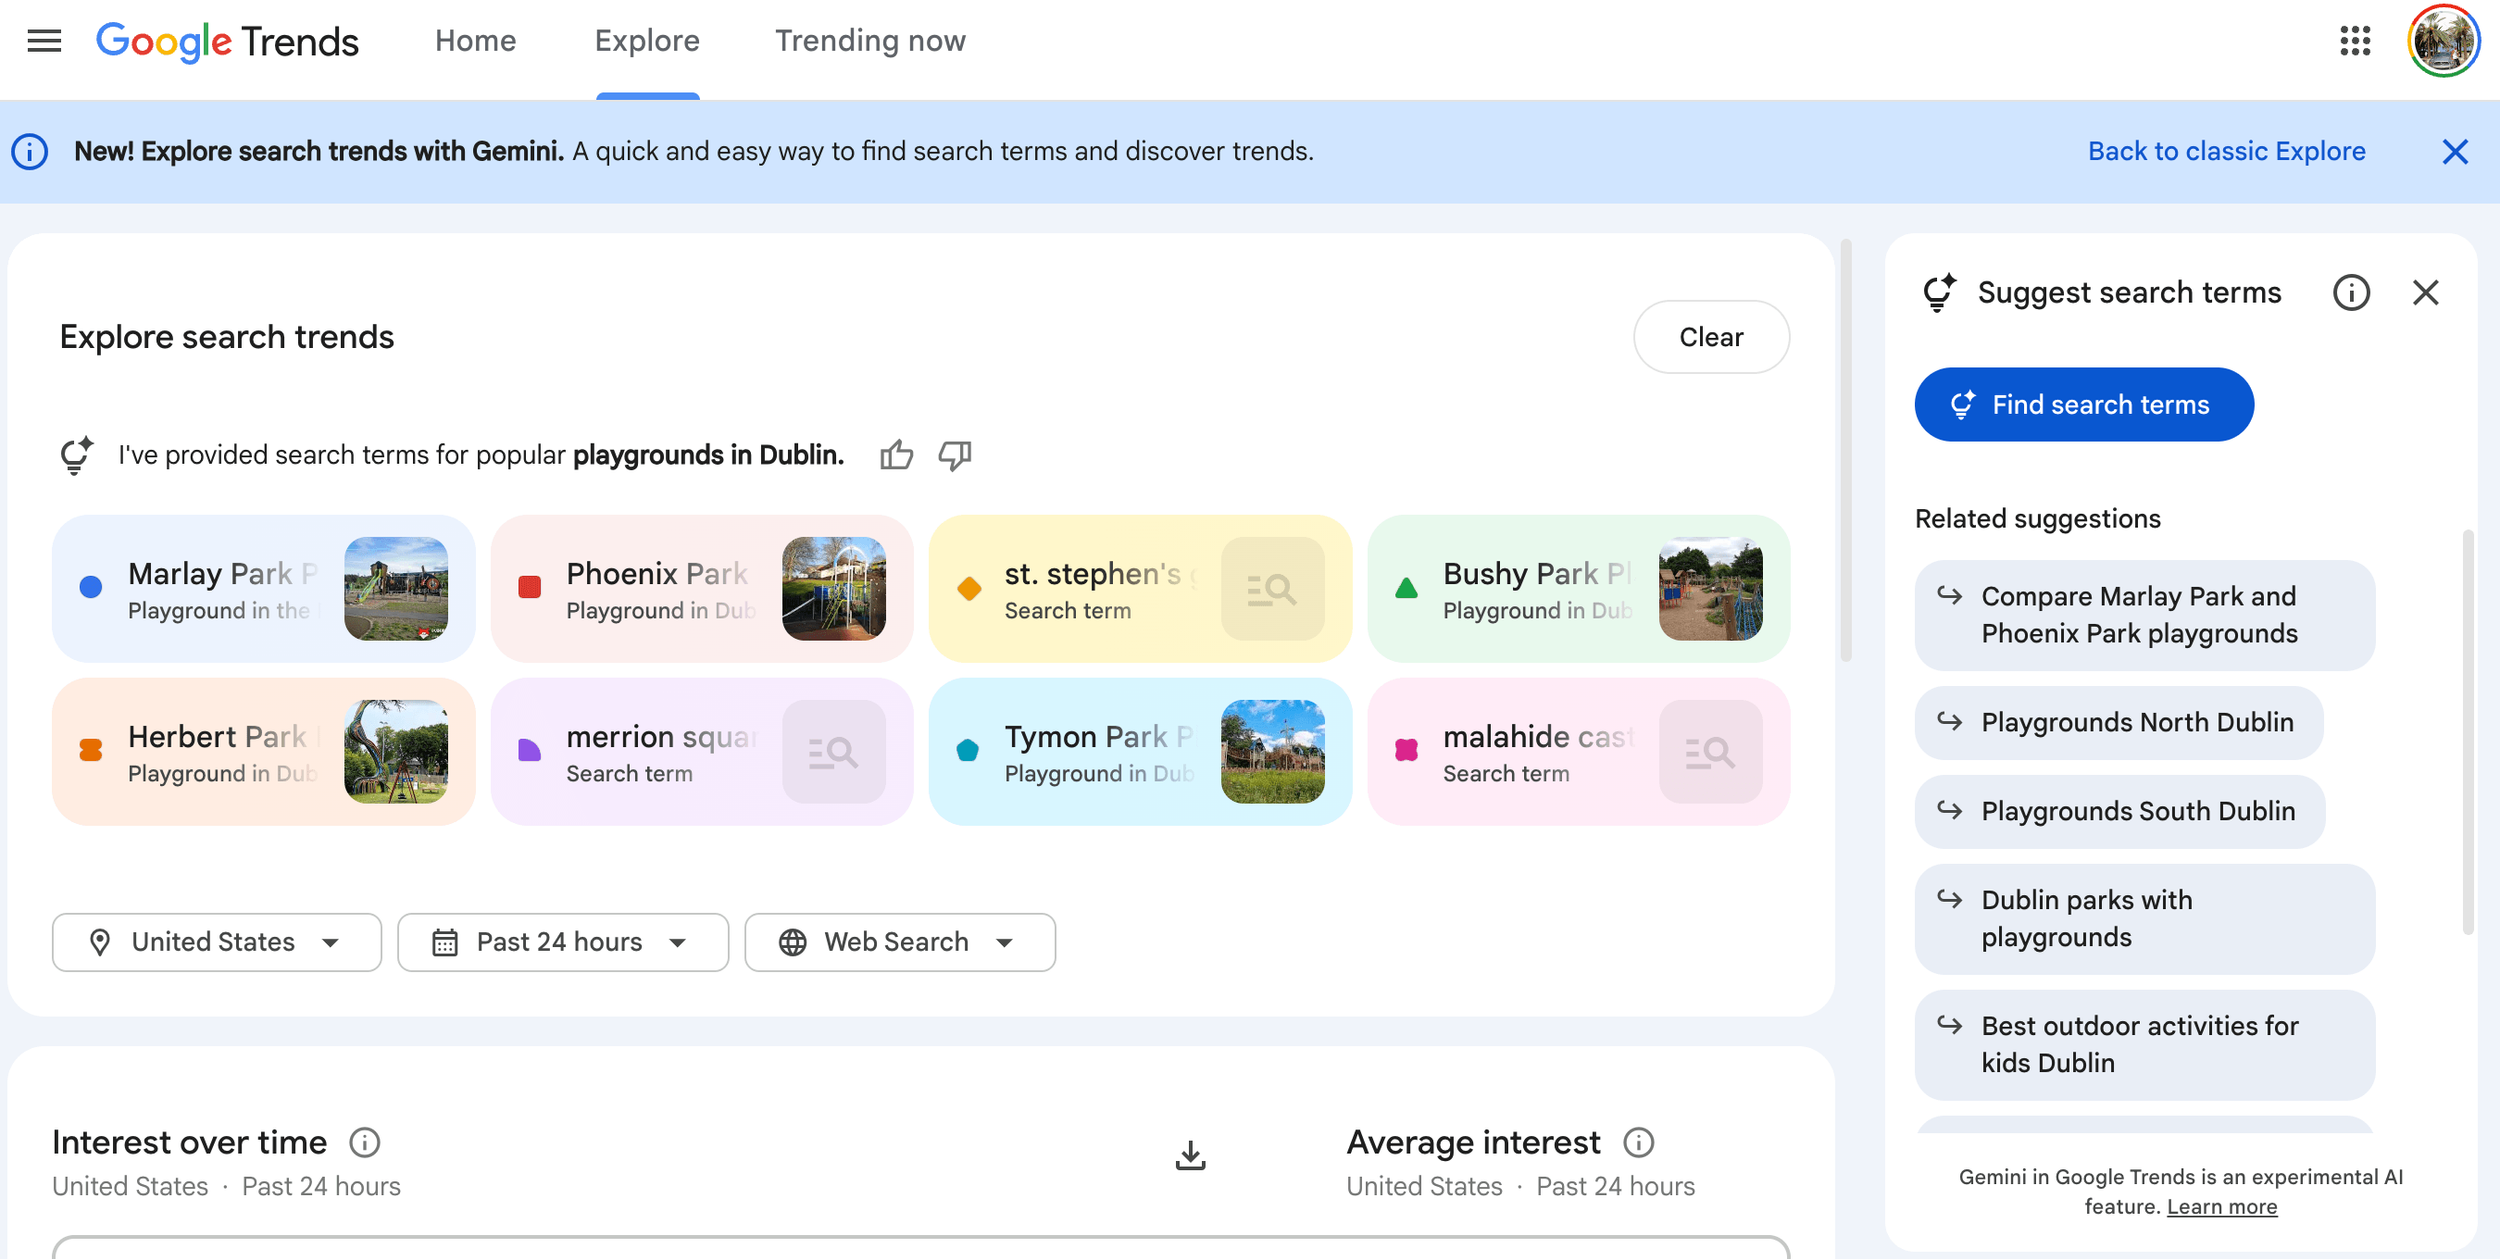
Once you know what photos you have, you need to know how people are searching for that destination. Writing a travel blog using ai means relying on data, not guesses.
Instead of guessing whether people search for "Dublin playgrounds" or "family parks Dublin," use Google Trends to see the exact phrasing.
Pro Tip: To actually get this post ranking and driving traffic, I always run the topic through RankIQ to find the low-competition keywords my target audience is typing in. You want the search volume, but you also want to make sure you can actually compete for the traffic.
Step 3: Let Gemini Build the Architecture
Now that you have your photos and your keyword direction, it’s time to draft the structure. Do not stare at a blank page.
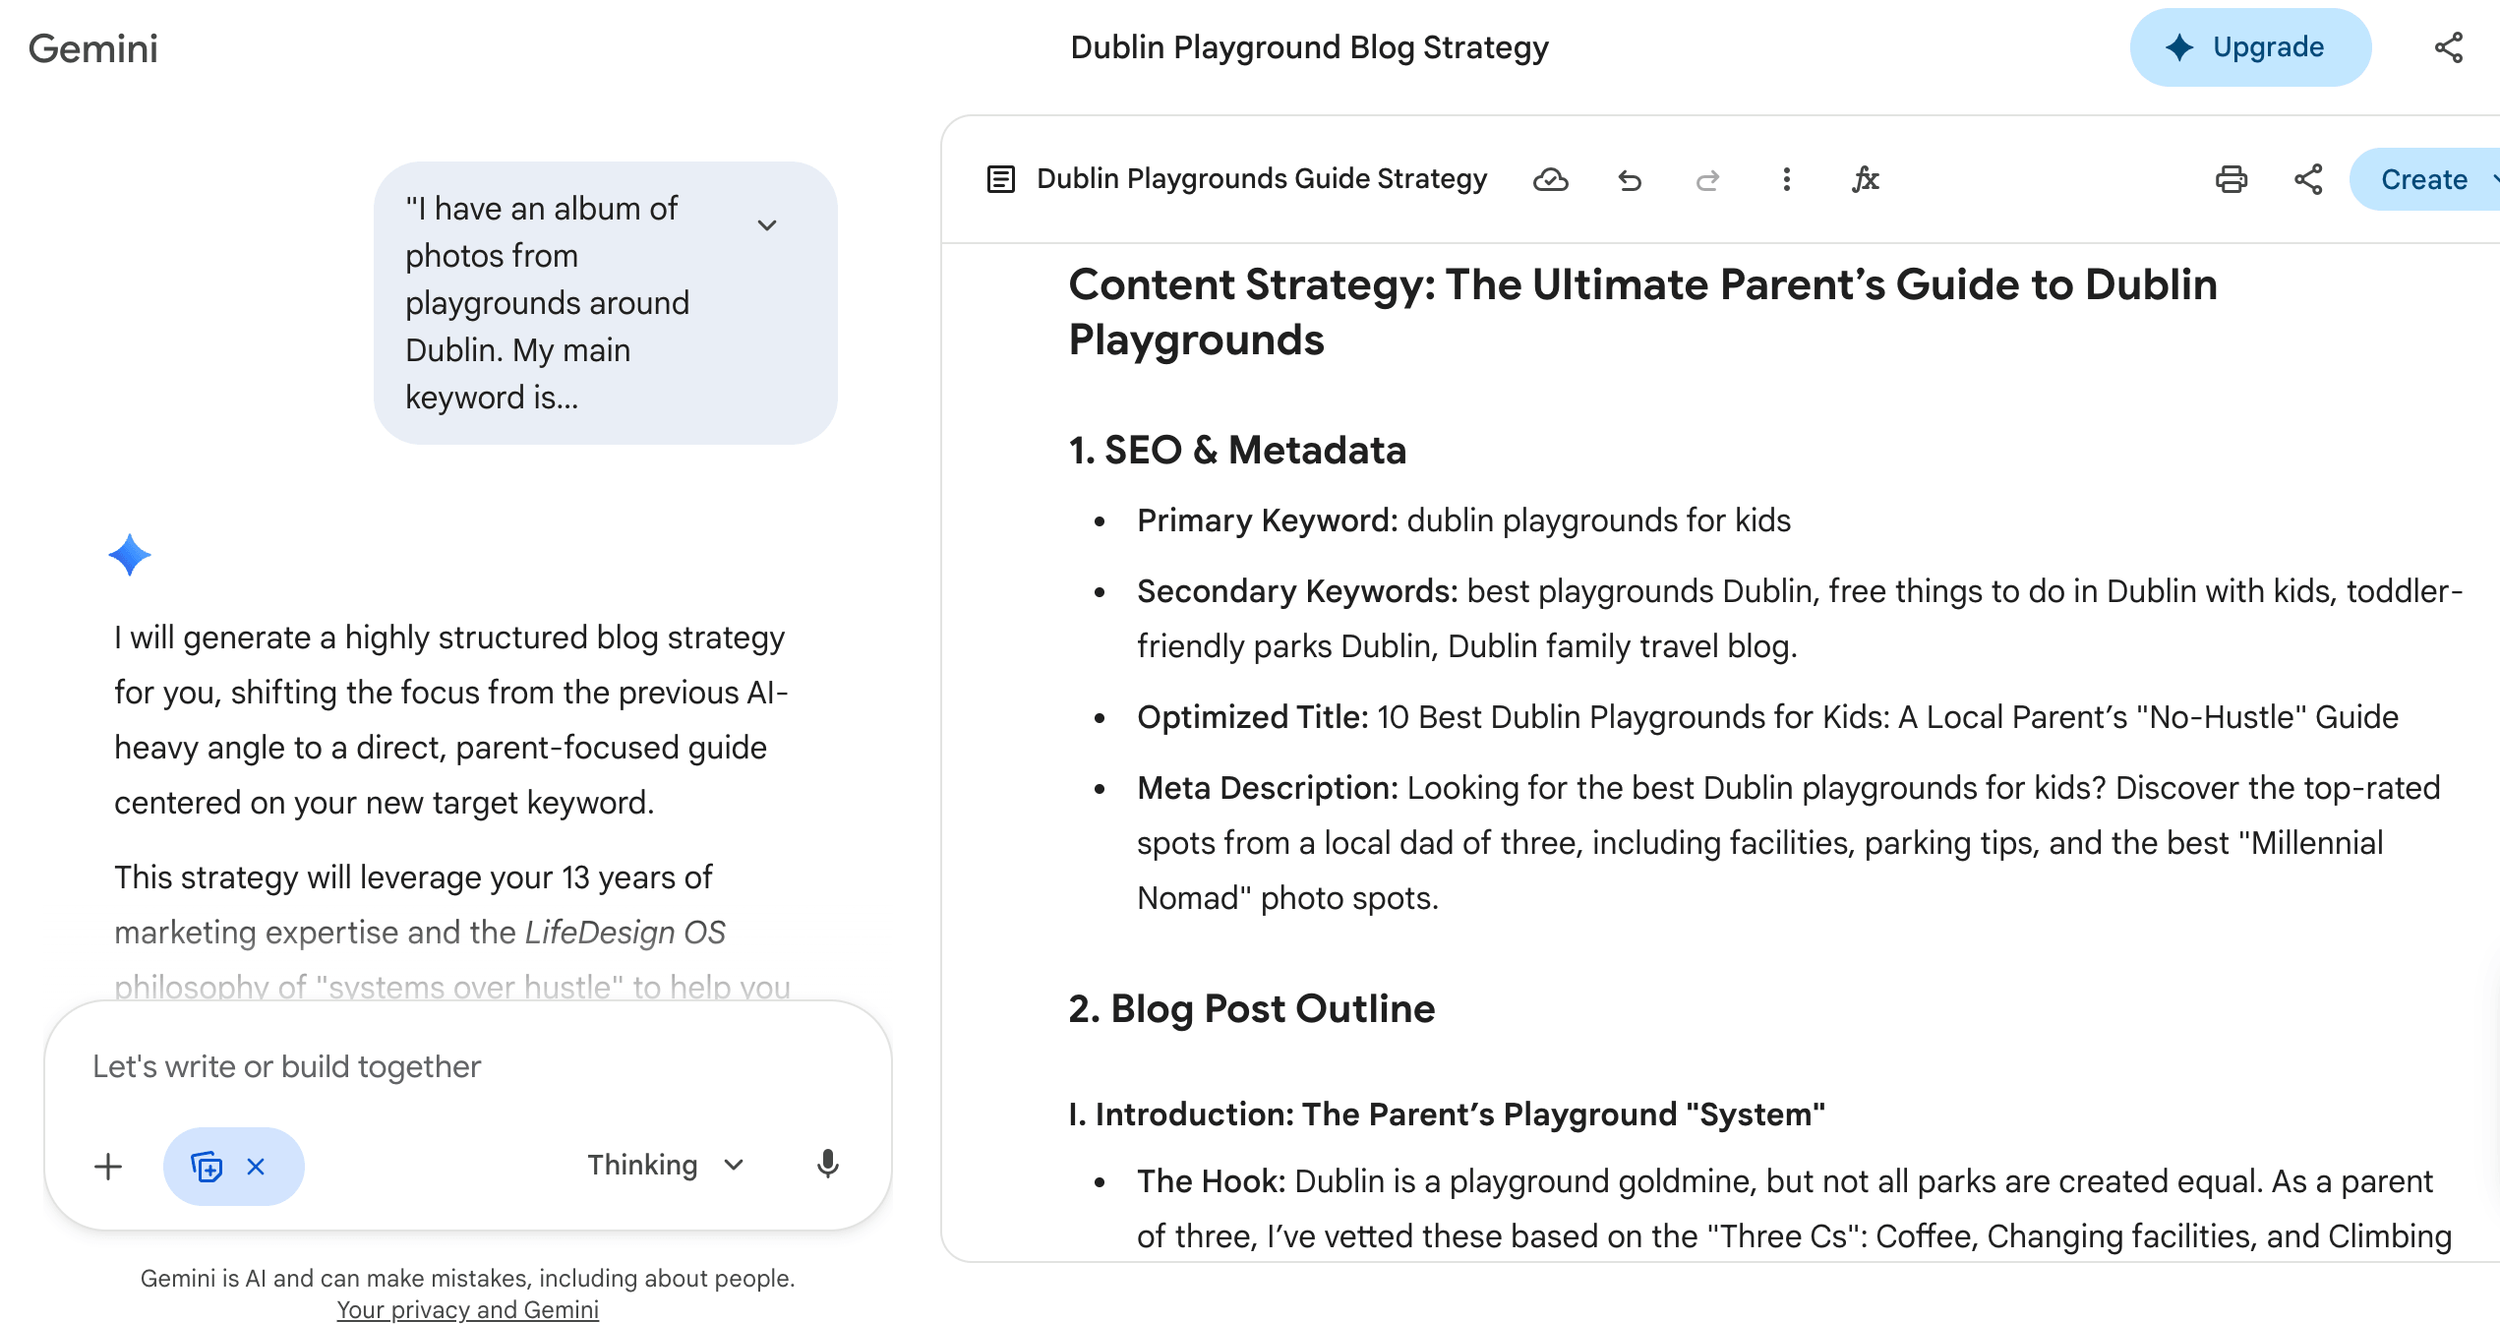
Open Gemini and use this exact prompt:
"I have an album of photos from playgrounds around Dublin. My main keyword is
[insert your keyword]
Act as my senior content strategist. Create a highly structured blog outline with an SEO-optimized title, section headings, a comparison table, and a dedicated FAQ section."
Gemini will spit out a clean framework in seconds. It saves you the mental energy of outlining, but remember: it does not replace you.
Step 4: Add Your Human Signature (The EEAT Layer)
This is the most important step. Google (and your readers) can smell a purely AI-generated article from a mile away. If you want your travel blog using ai to actually build trust, you have to inject Experience, Expertise, Authoritativeness, and Trustworthiness (EEAT).
After Gemini builds the skeleton, you go in and add the messy, real-world details that only a parent who was actually there would know:
Was the playground actually stroller-friendly, or was it a nightmare of cobblestones?
Was the coffee shop next door open on a Sunday?
Did you feel safe letting your toddler run around?
What would you do differently next time?
For example, when I wrote about Autumn in Dublin, I didn't just list parks. I talked about the actual mud, the exact gear we needed, and where to get a decent hot chocolate immediately after. That lived-in experience is your moat. AI cannot fake a crying toddler or a terrible parking situation.
Step 5: Treat Your Photos as Proof
Your photos shouldn't just sit there looking pretty; they are the visual proof that you actually took the trip.
If you want to take your travel imagery to the next level without lugging around heavy gear, check out my Free Mobile Photography Playbook. It’s the exact 3-step framing method I use to make my phone photos look professional.
Gear Tip: When I do want to step up my phone shots on the road, I snap on my Moment lenses. And to quickly edit those shots while sitting on an airplane or in a hotel lobby, I run them through Adobe Lightroom CC for fast, professional color grading.
Step 6: Strategic Links (Don't Be Spammy)
Finally, connect the piece to the rest of your ecosystem.
Internal Links: Keep them reading. If they are reading about family travel in Japan, link them to your Japan travel tips.
Affiliate Links: Only recommend what genuinely solves a problem. For example, if you're writing about international travel, tell them how to avoid insane roaming charges. (I personally use Ubigi for my eSIMs—you can use my code WEP1XCQQ for 20% off).
Try this on your next trip:
Open Google Photos right now. Search for one specific place from your last family trip, like a cafe, a park, or a museum. Pull 5 photos into an album and let Gemini build you a quick outline. Don’t aim for perfect, aim for just one published piece of content instead of letting those memories gather dust.
Once you see how fast this workflow is, you'll realize the only missing piece is having high-quality photos to feed the engine.
If you want a simple system to take better travel photos with your phone (so your blog actually looks professional), download my free Mobile Travel Photography Playbook below.


PIN ME